
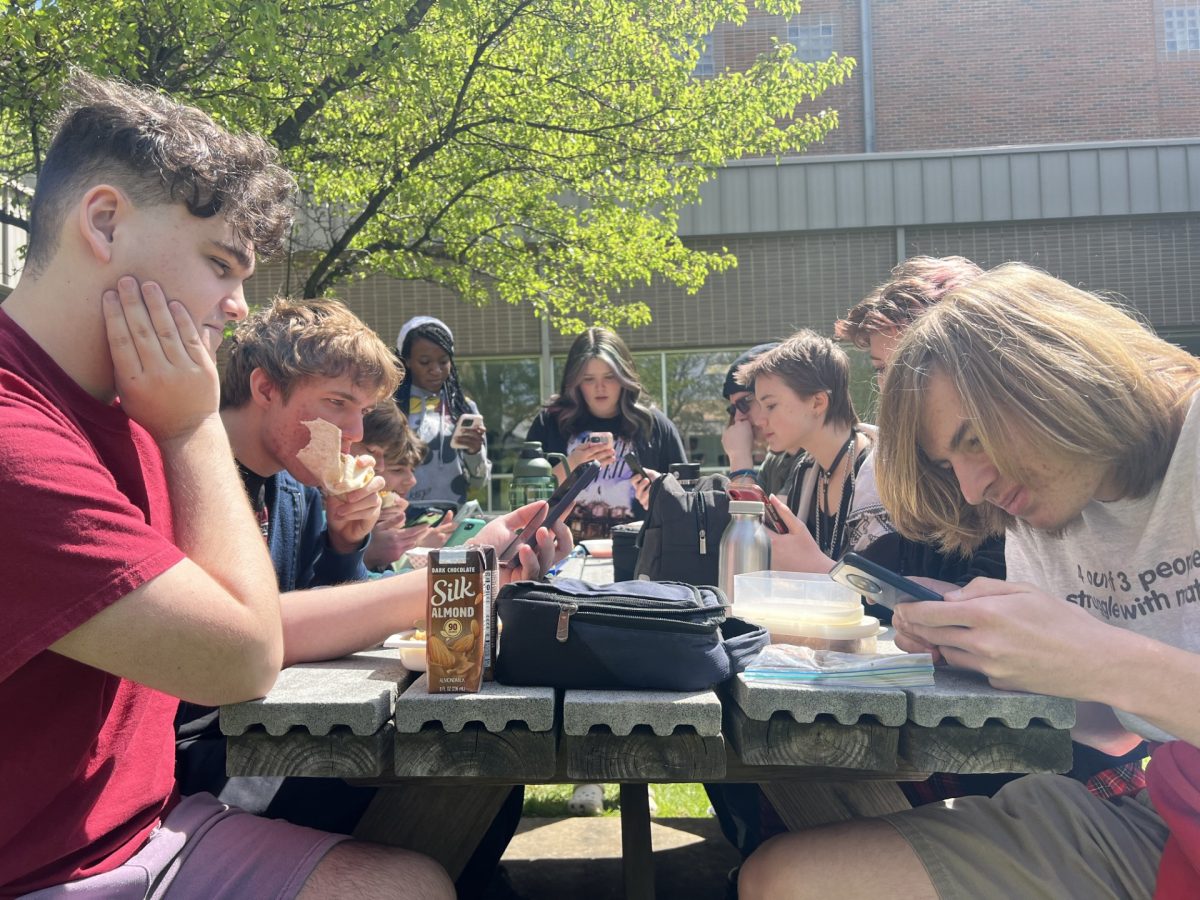
![Mrs. Miller works in the guidance office. With all the many duties of her position she is working as the secretary for the guidance office. "[She] may change every period to a different class," Principal Scott Hinton said.](https://blueacemedia.org/wp-content/uploads/2024/09/sub-photo-1200x869.jpg)


BY GRACE MONTGOMERY (’16)
One of the reasons why I started a DIY column was because I love making fun projects to use as decorations for my house. I feel pride looking at something I made whenever I walk around my house, as well as when I force both my friends and parents to listen to my retelling of how cool it was that I made it. In this article there are two projects that I have done that are not only really cheap, but are also really easy to make. Both of them consist of being made in mason jars, which have become a trend in the DIY community.
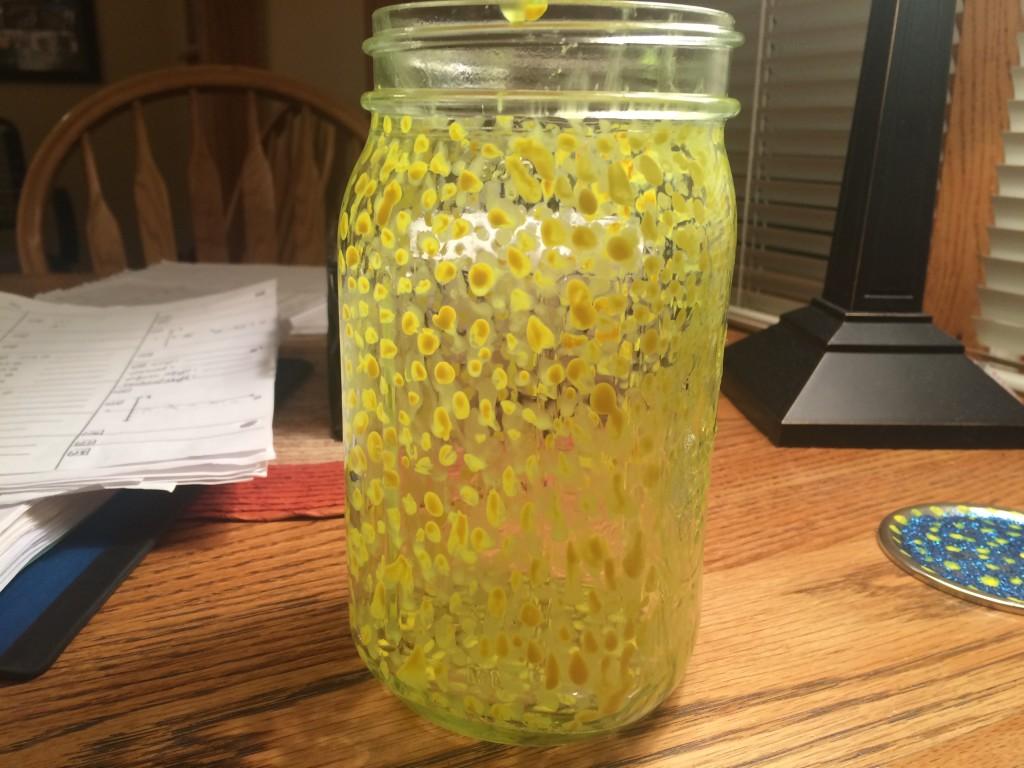
The first project is called Starry Night.
Supplies: Mason Jar (Mine is widemouth but it does not matter what size you choose), Glow in the Dark Paint (Handmade Modern is the brand), a paintbrush with a thin tip, and newspaper.
Glitter if you want to do the optional step.
I got the mason jar on sale at Hobby Lobby and the paint at Target.
Step 1: If using a jar from home that has been used before, please wash.
Step 2: Lay down newspaper.
Step 3: Dip brush into paint lightly.
*Funny story: So I originally got my paint at Hobby Lobby (they were having a sale where the paint I bought was 83 cents), and it said it was Acrylic Glow Paint. Glow paint I understand now is different than Glow in the Dark Paint. Just pointing that out even though I bet most people know this.
Step 4: Paint tiny dots on the inside of the jar. I would suggest starting at the bottom and work your way up so your hand doesn’t scrape wet paint on the sides of the jar (which I found out the hard way).

Step 5 (optional): Add glitter to the top of the cap along with dabs of the glow in the dark paint. This only serves to cover up the plainness on top.

Here is the final product:

My second project is called Ocean in Jar.
Supplies: Mason Jar, Vegetable Oil, Water, and Blue Food Dye.

Step 1: Fill jar about 1/3 of the way with water. The one I used, an 800 mL jar, I filled at about 250 mL.

Step 2: Put in 5 drops of food coloring.

Step 3: Fill the rest of the way with vegetable oil. I did not fill it completely full, but instead I had about 1/4 of the jar empty. I don’t think it is necessary to fill it completely with the vegetable oil, especially if your parents want to cook with it at some point.
Step 4: Shake it around and watch the waves, or tornadoes if you spin it in a certain way, form!

The picture can’t truly do it justice since it is so cool to watch the bubbles and the waves that are made.
That’s all folks. To make these two projects I spent about $10. Mainly it was to buy the two paints based upon my false assumption. Mason Jars are almost always on sale at Hobby Lobby so if you are interested in doing other DIY projects with them, they are really inexpensive. In the end, both of these projects were hassle free and look awesome around my house.
Once a month, Grace Montgomery shows how to make easy, inexpensive DIY projects to give as gifts or keep for yourself.